
Last updated September 22, 2026
Free on-site gate assessment - hinges, posts, and your LiftMaster or Nice gate operator checked before anything is quoted
The assessment is free and the quote is the invoice.


 Before
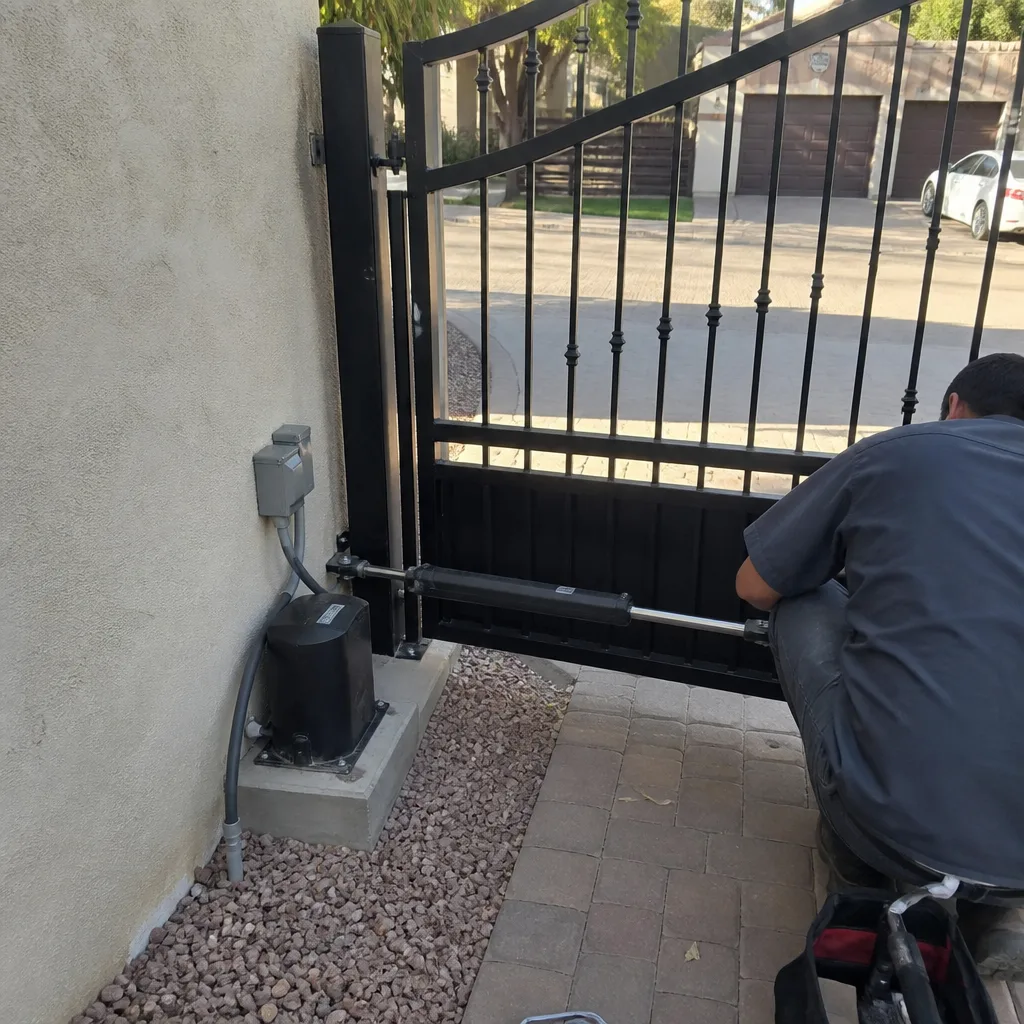 After
After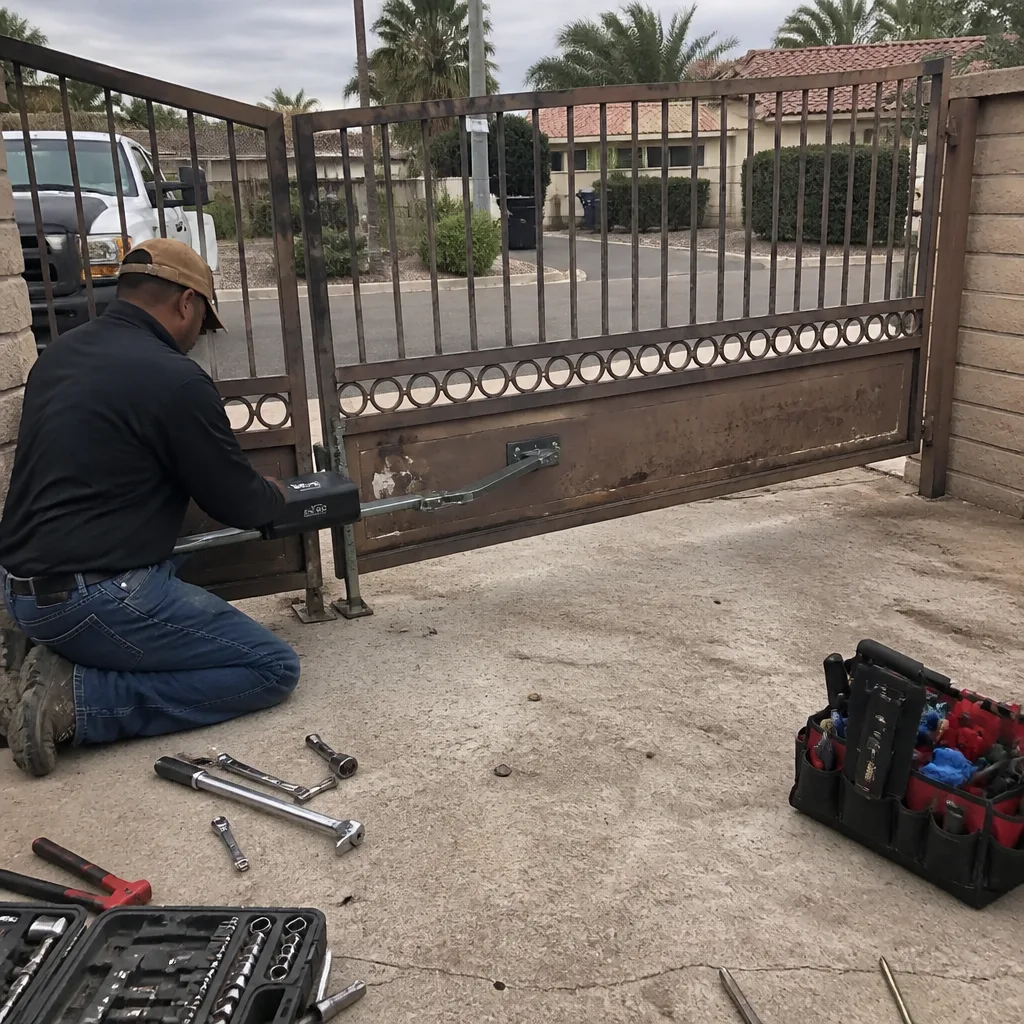 Before
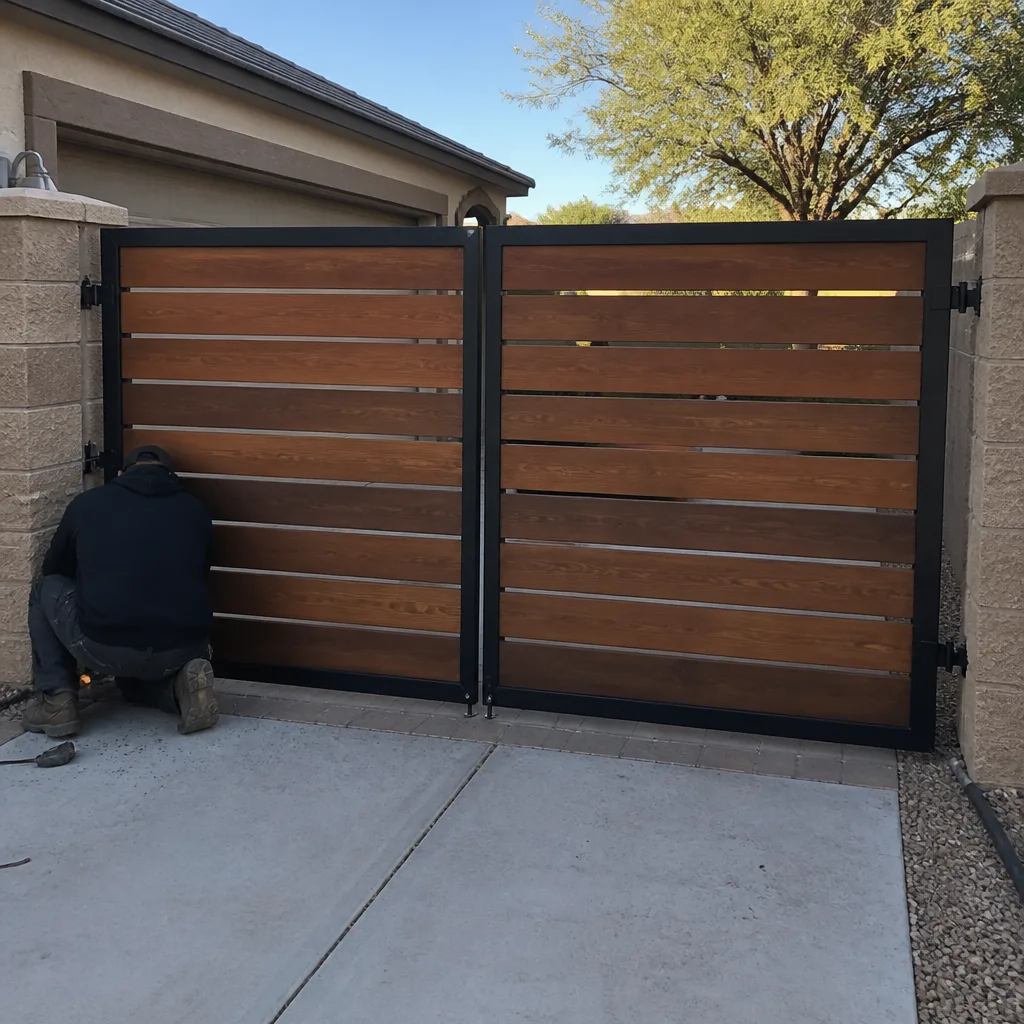 After
After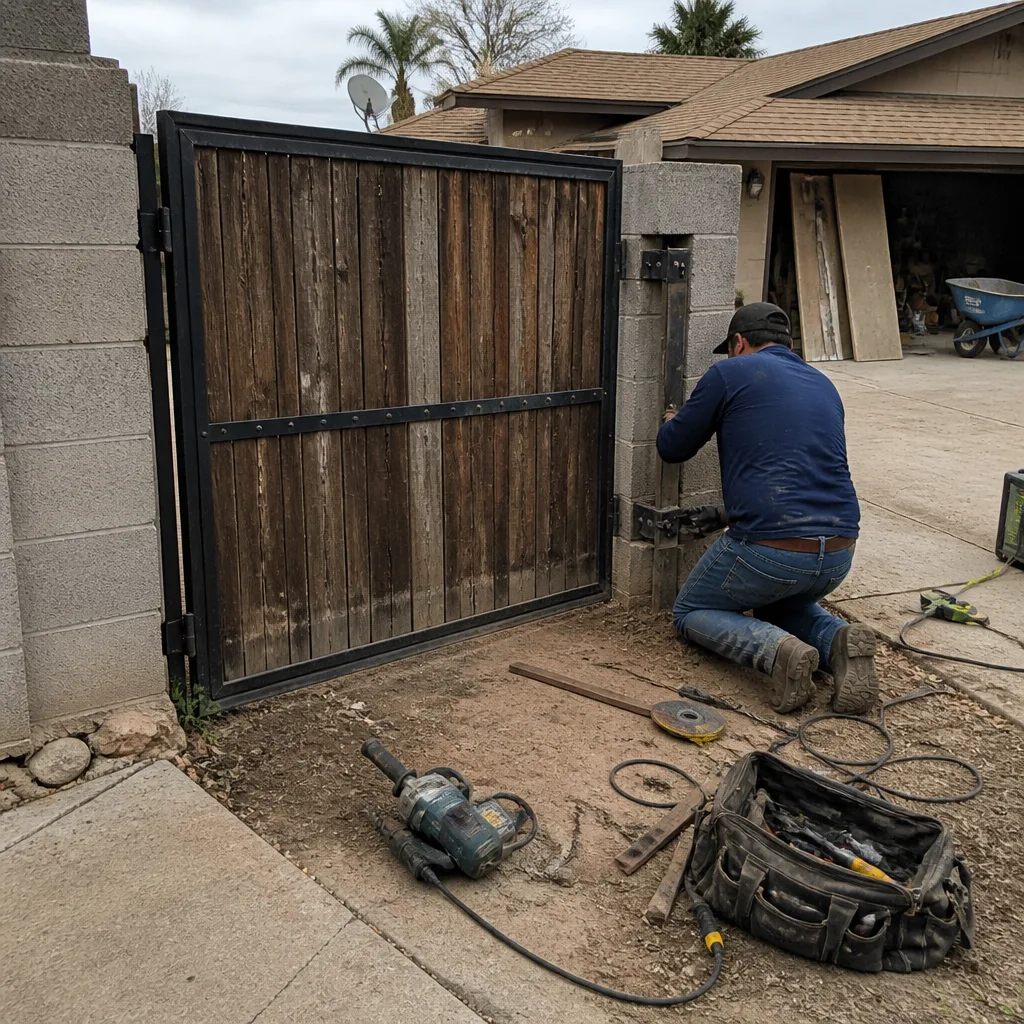 Before
 After
AfterThe Complete Guide to Gate Repair in Phoenix
Phoenix soil expands and contracts enough in a single monsoon season to shift a gate post by a measurable fraction of an inch - and that movement is responsible for more “electrical” gate failures than any actual electrical fault. We’ve traced hundreds of service calls in Phoenix back to this single cause: a post tilts, the gate frame torques, and suddenly the limit switch can’t find its home position or the photo-eye beam misses by half an inch. In this guide, you’ll learn to read the evidence yourself, distinguish mechanical failure from electrical symptoms, and know exactly what documentation a legitimate repair should leave behind.
Quick Answer
Gate repair in Phoenix typically addresses three environment-driven failure modes: post-shift from caliche soil expansion, monsoon electrical surge damage, and UV-degraded wiring insulation. Most residential repairs cost between $180 and $650 depending on whether the fix involves resetting a limit switch, replacing a circuit board, or rebuilding a post footing. A competent Gate Repair includes a written scope and price before work begins, plus photographic documentation of what was found and what was changed.
Table of Contents
- The Three Phoenix-Specific Culprits Behind Most Gate Failures
- How to Diagnose Your Gate Problem Before Calling Anyone
- Component Lifespans in Phoenix Conditions (Not National Averages)
- What a Complete Gate Repair Should Include
- How to Read a Written Repair Scope
- Gate Repair Costs in Phoenix: Real Ranges
- Preventive Maintenance That Actually Works Here
- Common Mistakes to Avoid
- When to Call a Professional
- Frequently Asked Questions
- The Bottom Line
 Before
 After
AfterThe Three Phoenix-Specific Culprits Behind Most Gate Failures
Every market has its gate problems. In Phoenix, the failures cluster around three forces you won’t find in the same combination anywhere else in the country.
Caliche Soil Heave
Phoenix sits on caliche, a calcium carbonate layer that behaves like concrete when dry and swells unpredictably when moisture penetrates. In neighborhoods from Arcadia to Desert Ridge, we’ve measured post movement of 3/16 inch after a single heavy rain. That doesn’t sound like much until you understand that a typical swing gate’s photo-eye alignment tolerance is plus or minus 1/4 inch. The post tilts, the gate leaf droops or binds, and the motor labors against mechanical resistance that its circuit board reads as an obstruction.
The symptom pattern is specific: the gate opens normally but reverses or stalls during closing, especially in the morning after overnight ground cooling has tightened everything. The motor isn’t failing. The post is lying to it.
Monsoon Surge Damage
Phoenix monsoons deliver lightning strikes and utility switching transients that find ground paths through gate control boards. The damage isn’t always immediate catastrophic failure. More often, we see latent degradation: a FAAC or Elite board that works intermittently for weeks before finally throwing an error code, or a DoorKing loop detector that starts “seeing” vehicles that aren’t there.
The critical detail: surge damage often affects multiple components simultaneously. A homeowner who replaces just the visibly failed board usually faces a second failure within 90 days because the transformer or loop detector took the same hit. A proper diagnostic checks every low-voltage component for out-of-spec readings, not just the one that quit working.
UV-Degraded Wiring Insulation
Phoenix ground-surface temperatures exceed 160°F in July. Conduit runs that sit against block walls or cross exposed aggregate cook the insulation on low-voltage control wires. After four to five years, the insulation cracks where it enters fittings or bends around corners. Moisture from irrigation or rare rain then wicks into the conductor, and you get phantom commands: a gate that opens at 2 a.m. because two degraded wires are now touching intermittently, or a keypad that works only when the sun isn’t hitting the conduit run.
We’ve found this failure mode most often in south- and west-facing installations in Ahwatukee and the Foothills, where afternoon sun exposure is longest. The fix isn’t just splicing the broken wire; it’s rerouting the run or upgrading to UV-rated cable with proper strain relief.
How to Diagnose Your Gate Problem Before Calling Anyone
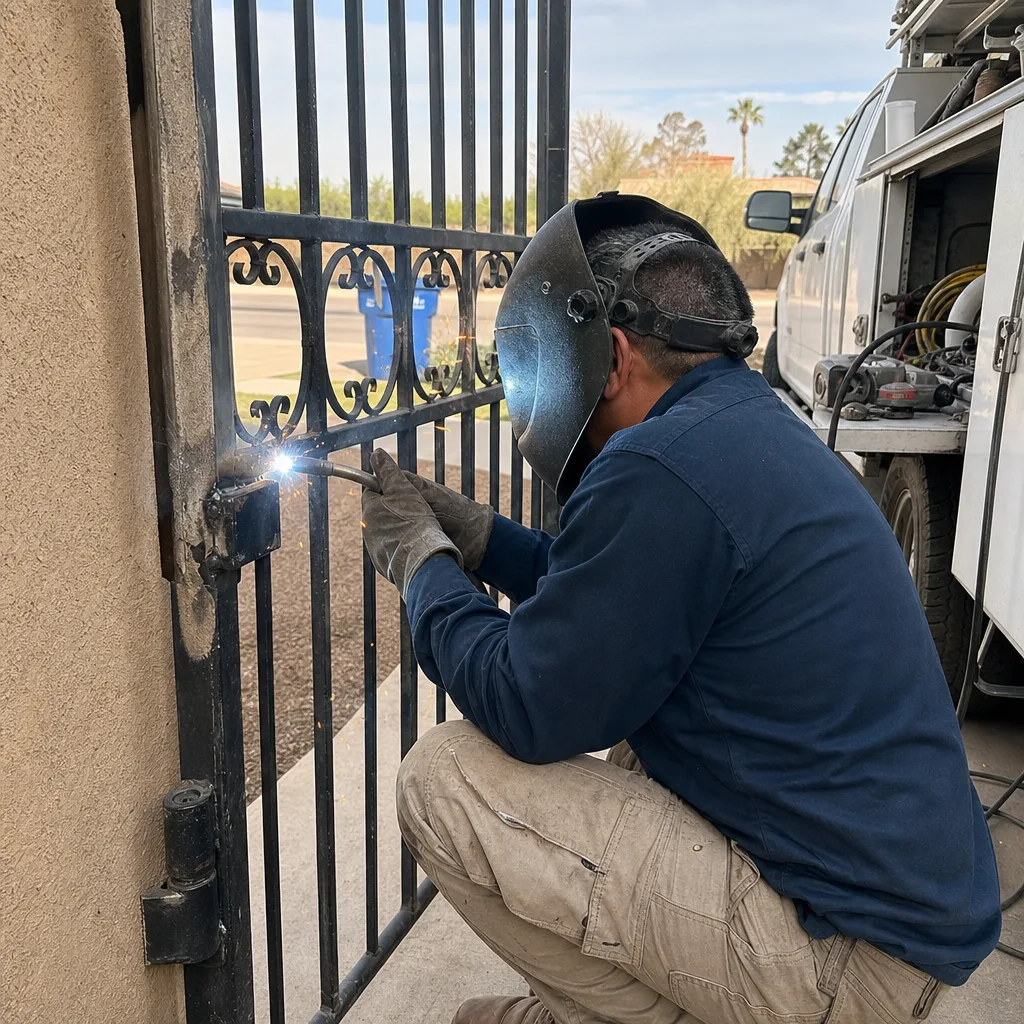
You don’t need test equipment to narrow the cause. You need to observe symptoms systematically and know which questions to answer - see our DIY vs Professional Gate Repair: The Phoenix Homeowner’s Decision Guide for when to call in a technician.
Step 1: Determine Whether the Problem Is Mechanical or Electrical
- Disconnect power at the breaker or battery. Manually release the gate from the motor per the manufacturer’s procedure (usually a key or lever on the operator arm).
- Move the gate by hand through its full travel. It should swing or roll freely, without binding, grinding, or requiring unusual force. If it binds, you have a mechanical problem: post shift, hinge seizure, or track obstruction.
- Check for visible post movement. Sight along the gate frame against a fixed reference - the house wall, a fence line, or a string line you stretch between two stakes. Any visible tilt or twist indicates caliche heave.
- Restore power and test controls. If the gate moves freely by hand but fails under power, the problem is electrical or in the motor/operator.
Step 2: Read the Error Codes
Most modern operators from LiftMaster, Linear, and Viking flash diagnostic codes on the circuit board or display. Consult your manual, but these patterns are common in Phoenix:
- Two flashes, pause, repeat: Photo-eye obstruction or misalignment. Check alignment first; if the eyes are true and clean, suspect post shift.
- Three flashes: Limit switch fault. The operator can’t find its programmed open or close position. Often follows post movement or manual operation without resetting limits.
- Five flashes: Motor overload. Mechanical binding, or a motor that’s failing after years of high-temperature operation.
- No flashes, no response: Power supply issue. Check breaker, transformer output, and battery voltage (if equipped). After monsoon season, suspect surge damage to the transformer or board.
Step 3: Check for Environmental Evidence
Walk the installation and look for:
- Cracked or chalking wire insulation, especially on south- and west-facing conduit runs
- Corroded ground connections at the post base or junction box
- Water staining or mineral deposits on the control box interior (indicates past condensation or minor flooding)
- Recent landscaping or irrigation changes that altered drainage near the gate post
Document what you find with photos. This baseline helps any technician avoid redundant diagnostic time, and it gives you a reference if the problem recurs.
Component Lifespans in Phoenix Conditions (Not National Averages)
National gate-component lifespan figures assume moderate climates. Phoenix accelerates wear on specific items. Here’s what we’ve documented across 22,000+ jobs since 2014:
| Component | National Average | Phoenix Expected | Primary Local Stressor |
|---|---|---|---|
| Control board (FAAC, Elite, DoorKing) | 10-12 years | 6-9 years | Heat + monsoon surge |
| Low-voltage wiring insulation | 15-20 years | 4-7 years | UV + ground-surface heat |
| Lead-acid backup battery | 3-5 years | 2-3 years | Heat accelerates sulfation |
| Photo-eye lens and housing | 8-10 years | 5-7 years | UV crazing, sand abrasion |
| Hinge pins and bushings | 12-15 years | 8-12 years | Dust infiltration, caliche loading |
| Post footing (concrete, no caisson) | 20+ years | 10-15 years | Caliche heave, expansion cycling |
| Operator arm/seal | 10-12 years | 7-10 years | Thermal cycling, dust seal degradation |
These aren’t guesses. They’re derived from job records where we can date the original installation from permit data or prior service tags. The gap between national and Phoenix figures is widest on wiring insulation and batteries - items that sit in the worst thermal and radiation exposure.
What this means practically: if your gate is seven years old and showing intermittent electrical symptoms, suspect wiring degradation before you suspect board failure. A $280 wire replacement solves the problem; a $600 board replacement doesn’t, if the real cause is shorted conductors feeding phantom voltage into the new board.
What a Complete Gate Repair Should Include
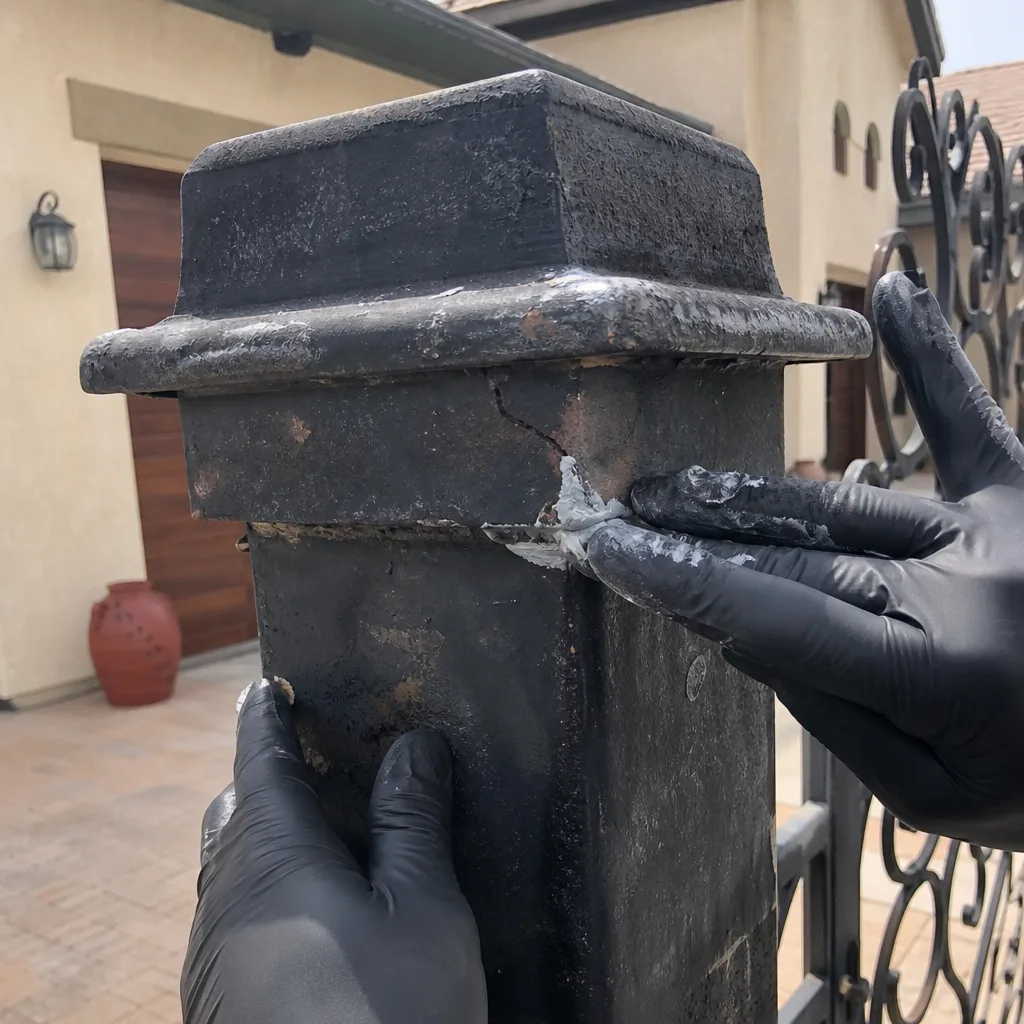
We’ve rebuilt enough other companies’ partial repairs to know what gets left out. A complete repair, under Vance Gate Repair Phoenix standards, includes five elements. You should demand equivalent documentation from any provider.
1. Written Scope and Price Before Work Starts
This is Haven Standard Clause 1. The technician diagnoses, writes the scope, names the price, and hands it to you. No work begins until you approve. This prevents the common pattern where a “$180 service call” becomes a $740 invoice because “we found additional problems.”
The scope should specify:
- Exact components to be adjusted, repaired, or replaced (with part numbers where applicable)
- Labor description in plain language
- Total price, inclusive of tax and trip charge
- Your signature line and the technician’s printed name
2. Photographic Documentation of Findings
Haven Standard Clause 4 requires photographic evidence. Before we leave, you receive a photo log showing:
- The condition found (corroded connection, cracked insulation, shifted post)
- The adjustment made (limit switch position, photo-eye alignment, torque setting)
- The component installed (part number visible, serial number recorded)
This isn’t for marketing. It’s for the next technician, who may be us or may be someone else five years later. Without it, every visit starts from zero, and you pay diagnostic labor to rediscover what was already known.
3. Operational Verification Under Load
The gate must cycle completely - open and close - under automatic control at least three times after repair. We also test manual release and re-engagement, verify photo-eye interruption response, and check battery backup function if equipped. A gate that “seems to work” when the technician leaves but fails on the next cycle wasn’t repaired.
4. Written Record of Settings and Readings
For motor operators, this includes limit switch positions, force sensitivity settings, and timer values. For access control, it includes keypad codes programmed, remote serial numbers registered, and loop detector sensitivity levels. This is the documentation habit Adrian Vance developed on commercial access-control sites starting in 2014, applied to every residential job.
5. Warranty Terms in Writing
Our 365-Day Done Right Promise covers all completed work for one full year. Any provider should put warranty terms in writing, including what constitutes a callback versus a new problem. Verbal promises are unenforceable; written terms are evidence.
How to Read a Written Repair Scope
The scope is your protection against unnecessary work and your verification that the diagnosed problem matches the proposed fix. Here’s how to evaluate it.
Match the Symptom to the Solution
A scope that proposes replacing a Ghost Controls circuit board for a gate that binds manually is suspect. The binding is mechanical; the board may be fine. A scope that only says “replace motor” without specifying why - seized bearing, winding failure, or overload from mechanical binding - is incomplete. Ask the technician to explain the failure chain: what caused what, and how the proposed fix interrupts that chain.
Verify Part Numbers
Legitimate scopes name specific parts: “Replace with Linear HAE00019 1/2 HP actuator” or “Install FAAC 780D control board, serial number recorded.” Generic descriptions like “new motor” or “control board” allow substitution of inferior or incompatible components. If the scope doesn’t name the part, ask for the addition.
Check for Missing Items
Common omissions that lead to callbacks:
- Wire replacement when the diagnostic indicated insulation degradation
- Post stabilization when the gate showed binding from shift
- Battery replacement when the backup system failed testing
- Photo-eye realignment after any post or gate work
A scope that fixes only the immediately failed component without addressing contributing factors is a partial repair. It costs less today and more over two years.
Confirm the Price Structure
The total should be a single number, not an estimate range. “Parts plus labor” scopes often exceed quoted ranges when the technician discovers the job is more complex than anticipated. Flat pricing before work starts puts that risk on the repair company, where it belongs.
Gate Repair Costs in Phoenix: Real Ranges
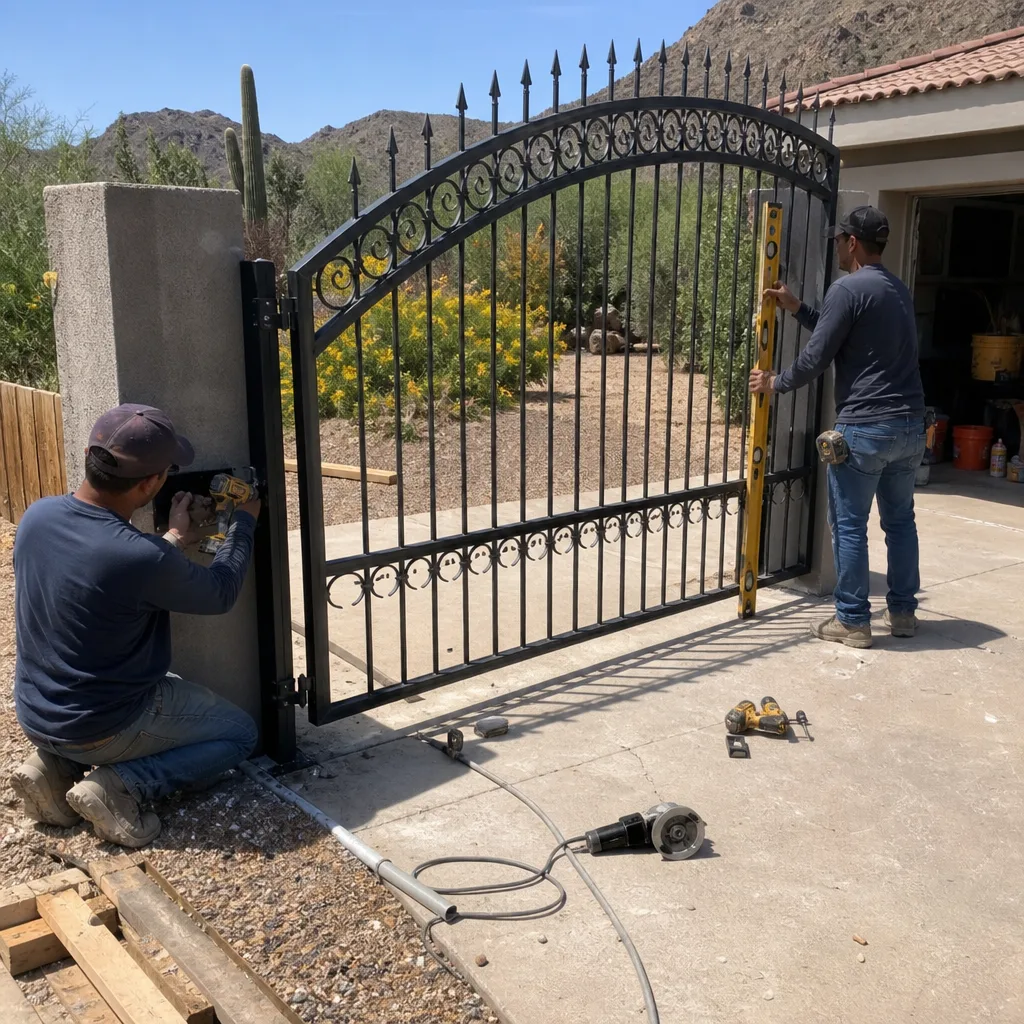
These figures reflect our 2023-2024 job data for residential gates in Phoenix; see our Gate Repair Cost Breakdown: The Phoenix Homeowner’s Reference for 2026 for detailed ranges. They’re ranges, not quotes; your specific repair requires inspection.
| Repair Type | Typical Range | What Drives the Variation |
|---|---|---|
| Limit switch reset / photo-eye realignment | $180 - $260 | Accessibility, number of devices, post-stabilization need |
| Control board replacement (single brand) | $340 - $580 | Brand, surge damage to secondary components, enclosure condition |
| Operator arm / motor replacement | $520 - $1,100 | Brand, arm type (linear vs. articulated), bracket integrity |
| Wiring harness replacement (partial) | $280 - $440 | Conduit length, UV-rated cable upgrade, access difficulty |
| Post stabilization / hinge rebuild | $380 - $720 | Caisson depth, caliche penetration, gate weight |
| Full diagnostic with documentation only | $140 - $180 | System complexity, number of control devices |
We quote every repair in writing before work starts. If another company has given you a written estimate, Vance Gate Repair Phoenix will review it at no charge under our free second-opinion policy.
Installation and replacement work - new gates in Phoenix, motor and opener upgrades - requires measurement, permitting, and scheduling. We don’t promise same-day completion for installations; we promise a free measure and a written price before any order is placed.
Preventive Maintenance That Actually Works Here
Generic gate maintenance schedules assume temperate climates. In Phoenix, prioritize these actions:
Quarterly (March, June, September, December)
- Inspect wire insulation on all exposed low-voltage runs, especially south- and west-facing. Look for chalking, cracking, or hardening. Flex the cable gently near fittings; if it crackles, schedule replacement before failure.
- Clean photo-eye lenses with a lint-free cloth. Dust storms in Phoenix abrade the lens surface; accumulated micro-scratches reduce beam strength over time.
- Test manual release and verify the gate moves freely by hand. Any increase in resistance indicates developing mechanical problems.
Annually (Before Monsoon Season, Ideally May)
- Check ground connections at the post base, junction box, and control enclosure. Corrosion from irrigation and rare moisture events increases resistance, which compromises surge protection.
- Verify battery voltage under load. A battery that reads 12.6V open-circuit but drops below 11.0V during operator draw is failing. Replace before monsoon outages.
- Inspect post footing for visible cracking, soil separation, or tilt. Early intervention with a stabilizing caisson costs $380-$520; post replacement after catastrophic failure runs $1,200+.
After Every Significant Rain
Walk the gate cycle and listen. Caliche heave often manifests within 48 hours of ground saturation. Catching post movement early allows stabilization without full replacement.
Common Mistakes to Avoid
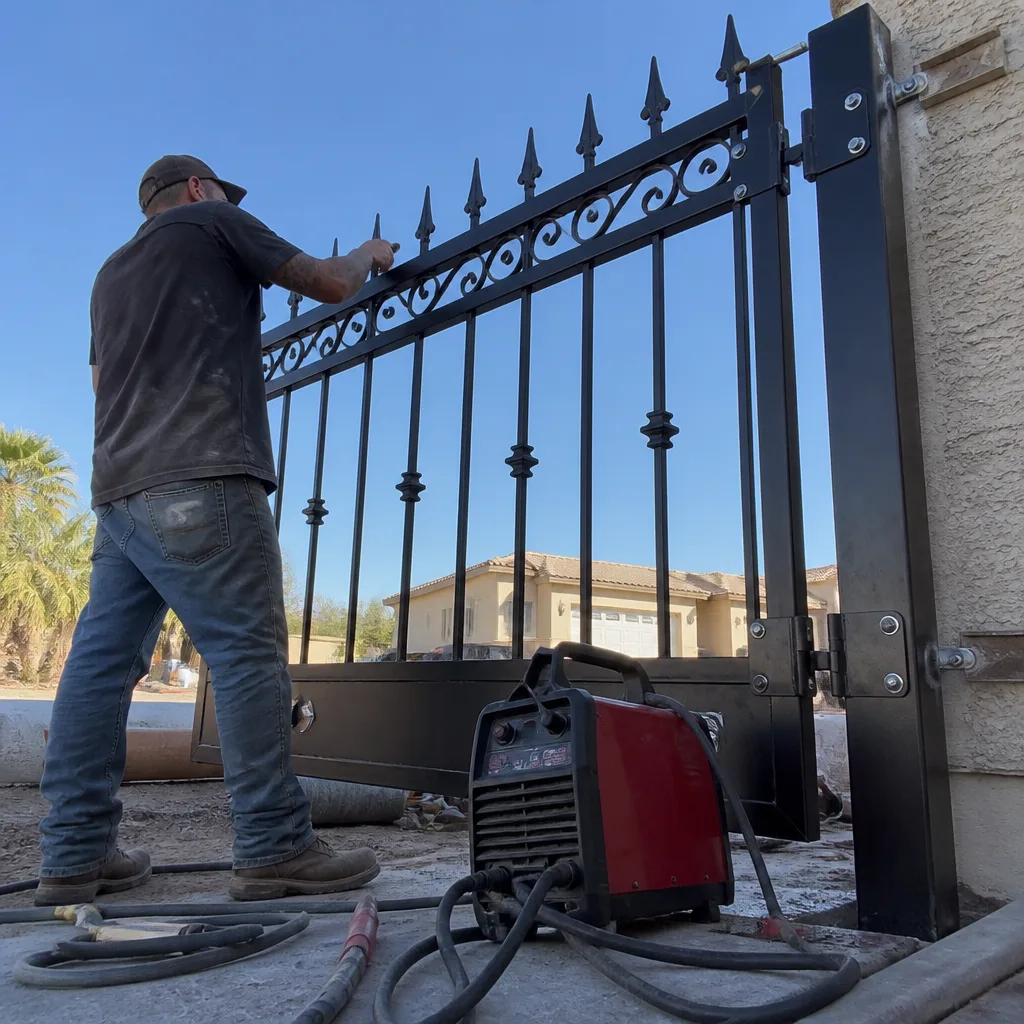
- Replacing the operator before checking the post. In Phoenix, post-shift symptoms mimic motor failure. A $900 operator replacement doesn’t fix a $400 stabilization problem, and the new operator will fail the same way.
- Ignoring intermittent symptoms. A gate that works “most of the time” has a degrading wire, a failing relay, or a battery approaching end-of-life. Intermittent problems become permanent problems, usually at inconvenient hours.
- Accepting verbal warranties. “Call us if it acts up” is not a warranty. Demand written terms with duration, coverage scope, and callback procedure. Our 365-Day Done Right Promise is in writing on every job.
- Using non-UV-rated wire for repairs. Standard thermostat wire lasts two Phoenix summers in exposed conduit. Insist on UV-rated, outdoor-rated cable with proper strain relief.
- Skipping documentation. If the technician leaves no record of what was found, adjusted, or installed, the next repair starts from zero. You pay to rediscover what was already known. Under Haven Standard Clause 4, every gate repair in Phoenix we perform includes photographic documentation.
- DIY spring or tension adjustments on slide gates. Slide gate counterbalance springs and chain tensioners store significant energy. Improper release can cause serious injury. Observe, photograph, and call a professional for these components.
When to Call a Professional
Call when you’ve completed the diagnostic steps above and identified a mechanical binding you can’t source, electrical symptoms beyond simple photo-eye cleaning, or any intermittent behavior that threatens security or safety. Specifically: gates that reverse unpredictably, fail to close completely, or lose manual release function create liability exposure and should not operate until repaired.
Vance Gate Repair Phoenix offers free estimates in Phoenix - call (602) 483-6270. A live person answers 24 hours a day, seven days a week. We dispatch background-checked, uniformed technicians with name and photo provided before arrival. Every repair is governed by The Haven Standard: written price before work starts, documented photo record on every visit, and the 365-Day Done Right Promise.
Frequently Asked Questions
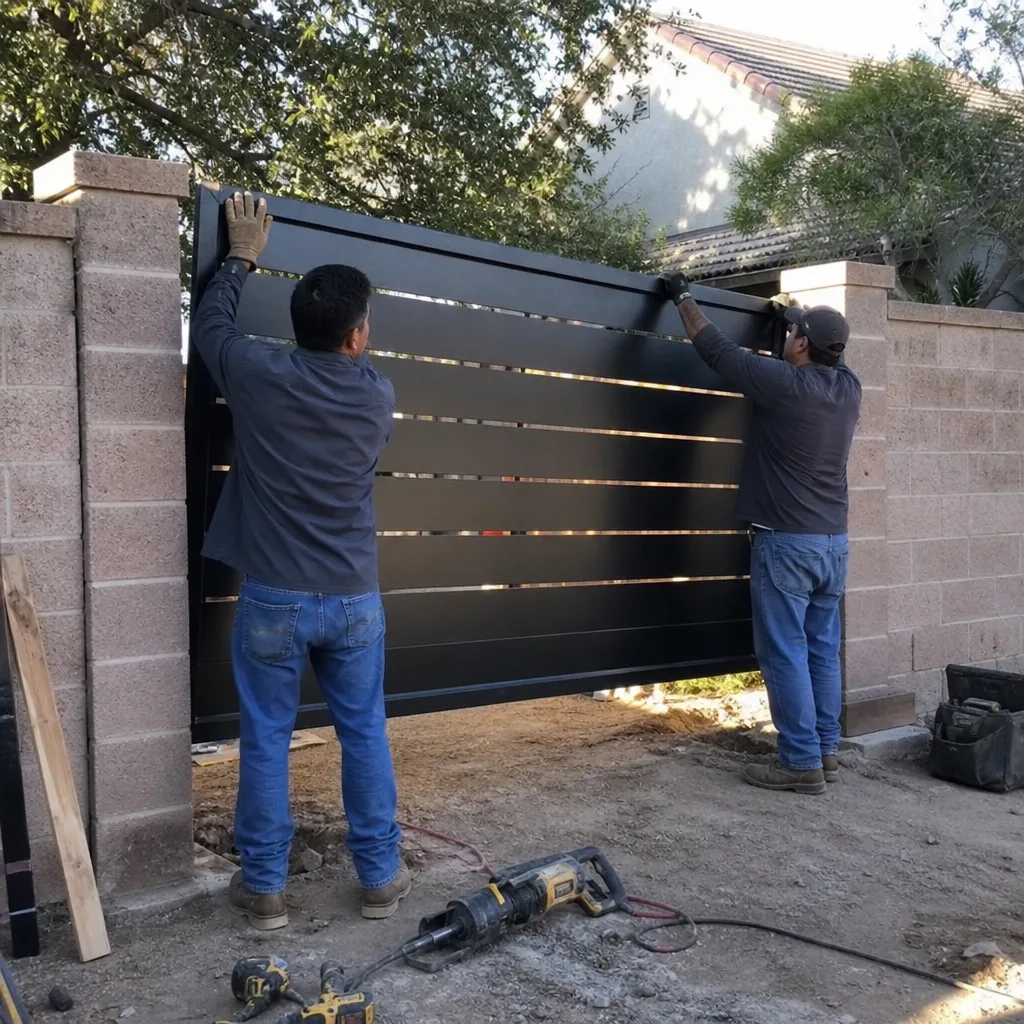
Most residential gate repairs in Phoenix fall between $180 and $650, with simple adjustments at the low end and operator replacement or post stabilization at the high end. Control board replacements typically run $340-$580 depending on brand and whether surge damage affected secondary components. We quote every repair in writing before work begins - call (602) 483-6270 for a free estimate.
This pattern usually indicates UV-degraded wiring insulation that separates conductors when cool but allows intermittent contact when thermal expansion opens cracks. In Phoenix, south- and west-facing conduit runs show this failure mode most often. The fix is replacing the degraded cable with UV-rated wire, not repeatedly resetting the operator.
Direct water intrusion is rare in properly installed enclosures. The bigger risk is electrical surge from lightning or utility switching, which travels ground paths and damages control boards, transformers, and loop detectors. After monsoon season, we recommend testing all functions and checking for intermittent behavior that may indicate latent surge damage.
Seven to ten years for most residential operators, compared to ten to twelve years in moderate climates. Heat accelerates bearing wear and electronic degradation. Motors that sit in direct sun or lack adequate enclosure ventilation fail toward the shorter end. Regular testing and documented maintenance extend service life.
A complete repair leaves you with: a written scope describing work performed, a single total price with no add-ons, a photo log of findings and adjustments, and written warranty terms. If any of these is missing, you have incomplete documentation and incomplete protection against future costs. Under Haven Standard Clause 4, every Vance Gate Repair Phoenix visit includes all four elements.
We service nine major automation brands: LiftMaster, FAAC, BFT, Linear, Viking, Ghost Controls, DoorKing, Elite, and Mighty Mule. We don’t steer customers toward replacement with a preferred brand; we repair what’s installed whenever repair is technically and economically sound. If replacement is necessary, we quote multiple options in writing.
Not immediately, but don’t operate the gate until it’s evaluated. A tilting post progressively loads hinges, distorts the gate frame, and can cause catastrophic failure if the post separates from its footing. In Phoenix, caliche heave often accelerates after rain. Early stabilization with a deeper caisson costs significantly less than post replacement after failure. Call (602) 483-6270 for inspection.
The Bottom Line
Phoenix gate failures look electrical more often than they are. Caliche soil movement, monsoon surge, and UV degradation create symptom patterns that confuse diagnosis. The homeowner who can distinguish mechanical binding from electrical fault, who demands written scope and photographic documentation, and who maintains components on Phoenix-specific schedules rather than national averages, avoids the most common and costly repair mistakes. For more guides & resources on protecting your gate investment, visit our blog. The technician who names the price before picking up a tool, leaves evidence of what was done, and stands behind the work for a full year - that’s the standard every repair should meet.
Written by Adrian Vance, Owner at Vance Gate Repair Phoenix, serving Phoenix since 2014.