
Last updated September 22, 2026
Free on-site gate assessment - hinges, posts, and your LiftMaster or Nice gate operator checked before anything is quoted
The assessment is free and the quote is the invoice.


 Before
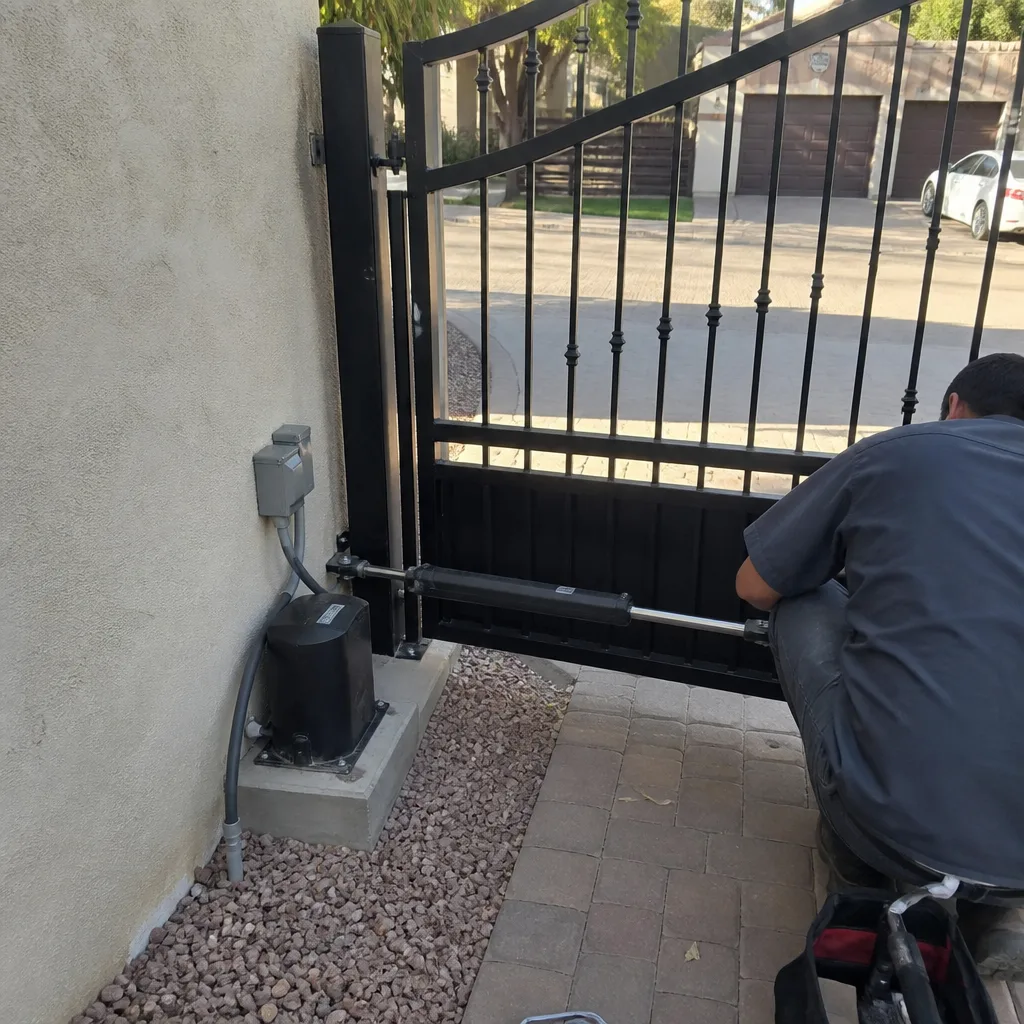 After
After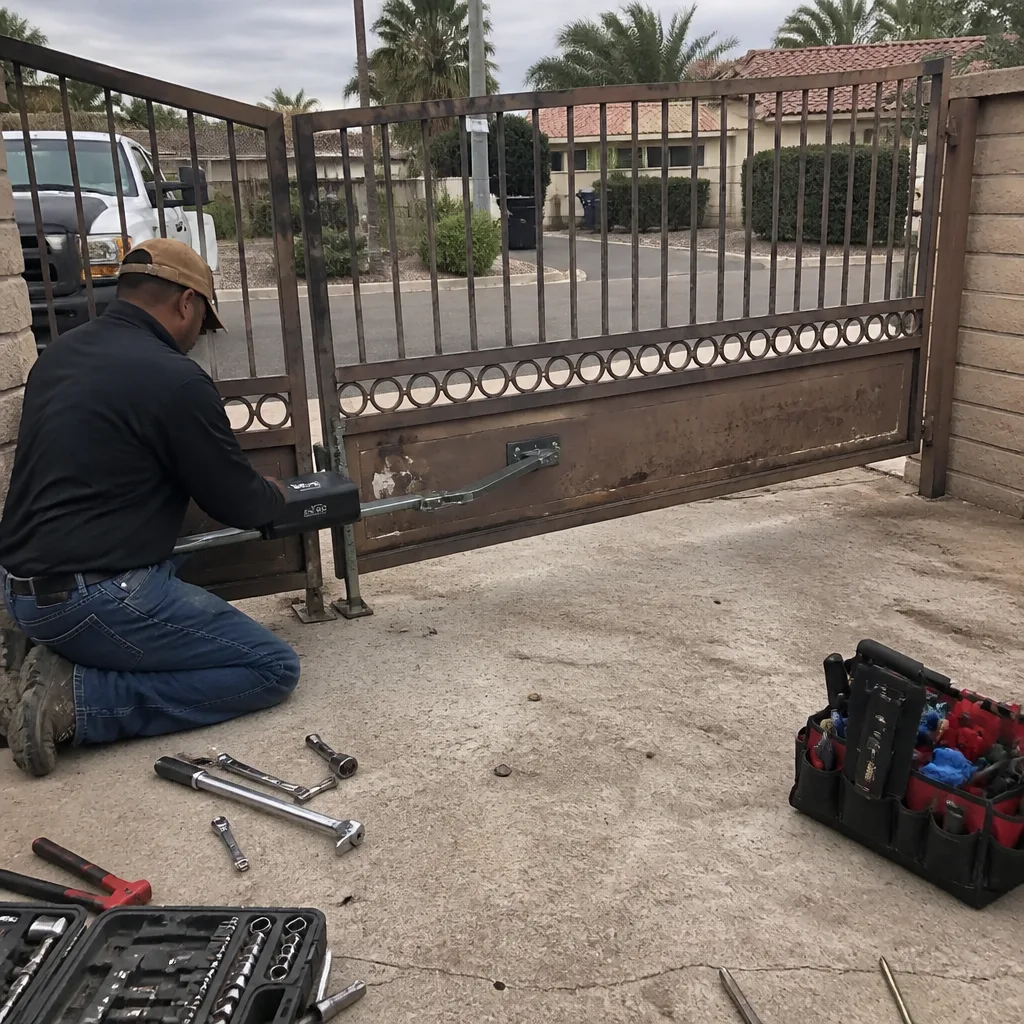 Before
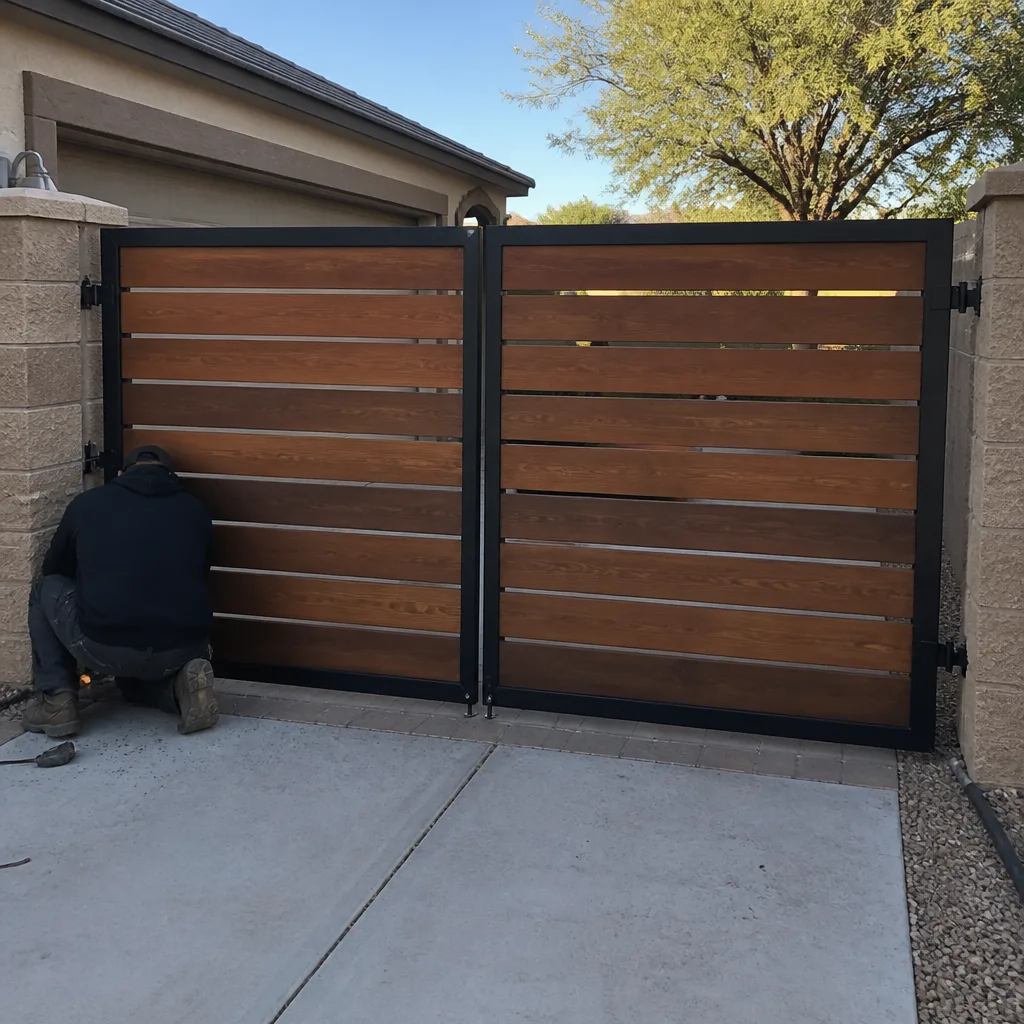 After
After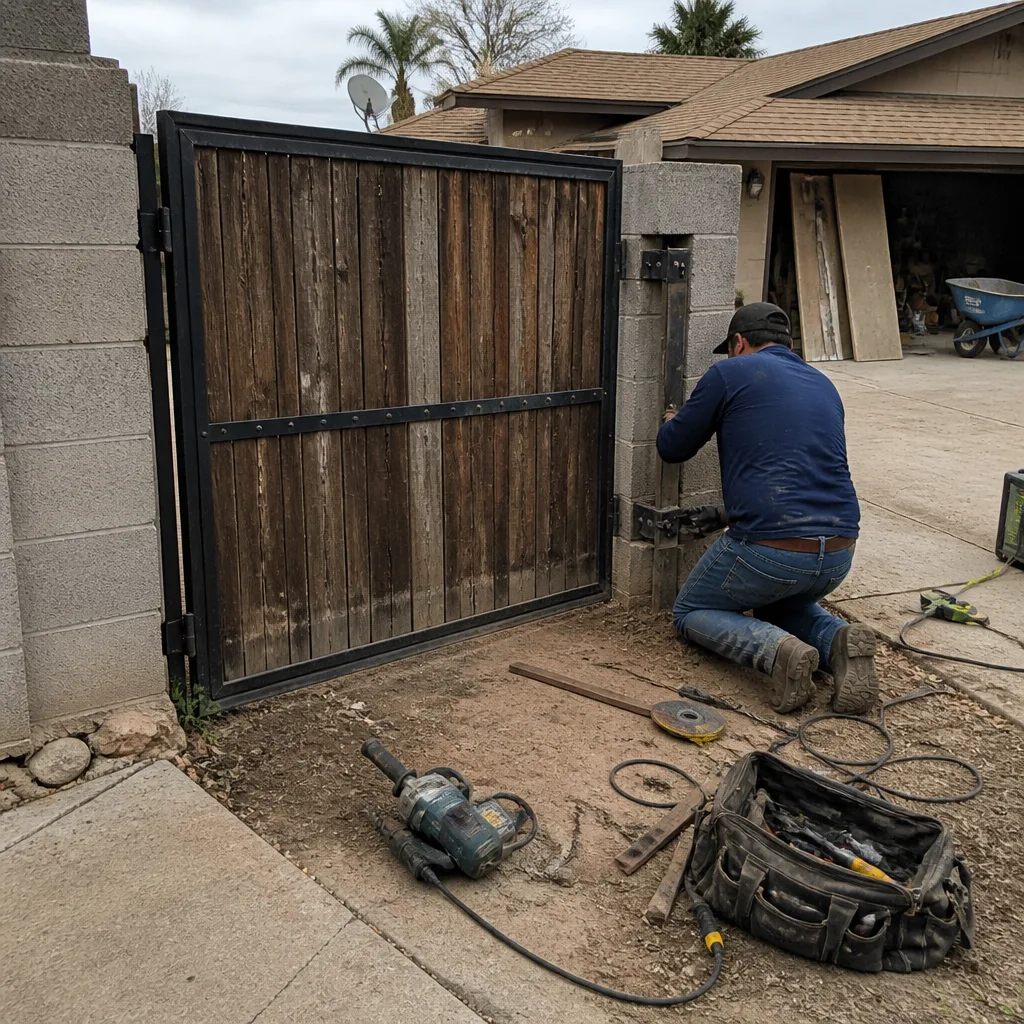 Before
 After
AfterDIY vs Professional Gate Repair: The Phoenix Homeowner’s Decision Guide
Here’s the counterintuitive truth we’ve learned from 22,000 gate repairs since 2014: the most expensive DIY gate repair in Phoenix is the one that looks successful. A homeowner replaces a photo-eye, the gate moves again, and six months later the control board fails because the eye was aligned to the wrong tolerance for 118-degree summer heat. The $45 part saved a $150 service call. It cost $680 in downstream damage. This guide draws a clear line between repairs that are genuinely safe to handle yourself and repairs where an incomplete job creates hidden liability, specifically for Phoenix’s climate, code environment, and the documentation habits that protect your investment. For professional help, see our Gate Repair services.
Quick Answer
Most Phoenix homeowners can safely DIY cosmetic repairs, keypad replacements, and simple photo-eye realignments on swing and slide gates. Any repair involving limit switches, control boards, high-voltage wiring, or welded components should be handled by a professional who documents settings before changes are made. In Phoenix’s climate, incorrect limit-switch tolerances and non-UV-rated splices fail faster than in milder regions, making documentation critical for warranty and future service.
Table of Contents
- Safe DIY Repairs: What You Can Handle
- Why Phoenix Heat Changes the DIY Equation
- Repairs That Require Professional Documentation
- The DIY Documentation Protocol (Even for Simple Jobs)
- The Exact Moment to Stop and Call a Pro
- How to Hand Off a Partial Diagnosis Without Creating Confusion
- DIY Cost vs. Professional Cost in Phoenix
- Common Mistakes to Avoid
- When to Call a Professional
- Frequently Asked Questions
 Before
 After
AfterSafe DIY Repairs: What You Can Handle
Some gate repairs are genuinely straightforward. The key distinction is whether the job has a single correct outcome that you can verify with basic tools, or whether it involves calibrated settings that must be recorded before change.
Keypad and Remote Replacement
Replacing a gate keypad is the clearest DIY category. You need the manufacturer PDF, a screwdriver set, and about 45 minutes. The job is: disconnect power, photograph the wire colors and terminal numbers, remove old unit, connect new unit to identical terminals, restore power, test all codes. Brands like DoorKing and Linear publish terminal diagrams online. If you can follow a wiring diagram, you can replace a keypad.
Remote programming is similarly bounded. Most gate motor and opener systems have a learn button procedure that takes under five minutes. The risk is low because the original settings remain intact if you make an error. You simply clear the attempt and repeat.
Photo-Eye Cleaning and Minor Realignment
Photo-eyes (the infrared beam pair that stops gate travel if interrupted) accumulate dust, spider webs, and hard-water scale in Phoenix. Cleaning the lenses with a microfiber cloth and checking that both units show solid indicator lights is routine maintenance. Minor realignment, using the visible beam path or the LED feedback on the receiver unit, is also within DIY scope if you document the original position first.
Where DIY photo-eye work ends: if the beam path crosses uneven ground, if the conduit mounting has shifted in expanding soil, or if the LED indicators flash error codes you cannot match to the manual. These conditions require measurement tools and documentation that most homeowners do not maintain.
Physical Obstruction Removal
Stones wedged in track, debris blocking a swing gate’s path, or vegetation encroaching on photo-eye beams are obvious homeowner tasks. We mention them only because we’ve arrived at calls where the “broken” gate simply had a landscape rock rolled into the track by a monsoon wash. Check the obvious first.
What These Safe Repairs Share
- Single correct outcome: keypad works or it doesn’t; photo-eye beam is continuous or interrupted
- No calibrated settings to preserve: nothing that a future technician must know to diagnose the next problem
- Reversible error: if you connect a keypad wire to the wrong terminal, you reconnect it without damaging other components
- Manufacturer documentation exists: the PDF tells you exactly what to do
Why Phoenix Heat Changes the DIY Equation
Phoenix’s climate introduces failure modes that do not appear in national gate repair guides written for temperate zones. A repair that holds up in Seattle or Chicago may fail prematurely here, or worse, may appear to work while damaging connected components.
Thermal Expansion and Limit Switch Tolerance
Gate limit switches tell the motor when to stop at fully open and fully closed positions. These are set with mechanical or electronic tolerances, typically measured in degrees of arm rotation or fractions of an inch at the gate leaf. In Phoenix, aluminum gate frames expand approximately 0.001 inch per degree Fahrenheit per foot of length. A 16-foot aluminum swing gate can grow by nearly a quarter-inch between a 65-degree morning and a 118-degree afternoon peak.
That expansion changes where the gate physically stops. A limit switch set to tight tolerance in March will overtravel in July, straining the motor, the arm bracket, and eventually the control board’s overload protection. The DIY risk is not that you cannot turn the adjustment screw. The risk is that you set it for current conditions without documenting the original position or calculating thermal tolerance. When the gate overtravels three months later, the technician diagnosing the control board failure has no baseline to work from. The board failed because of undocumented limit drift, but it gets replaced without addressing the root cause.
At Vance Gate Repair Phoenix home, we record limit-switch settings with a digital protractor and photograph the position before any adjustment. That record travels with the job file. A homeowner performing DIY limit adjustment almost never produces equivalent documentation, which means the next problem, whatever it is, starts from an unknown state.
UV Degradation and Wire Splicing Standards
Direct burial wire and conduit-mounted low-voltage wiring in Phoenix gates must be UV-rated and properly sealed. Non-UV-rated wire nuts or tape splices degrade in 18-24 months of summer exposure. The failure is often invisible: resistance increases gradually, voltage drops at the motor, and the control board interprets the symptom as motor failure. A homeowner who splices a cut photo-eye cable with standard electrical tape has created a problem that will not appear for two years, at which point the “repair” is long forgotten and the control board gets blamed.
Professional gate repair in Phoenix uses gel-filled connectors rated for outdoor UV exposure, or proper junction boxes with strain relief. The documentation includes the connector part number and a photo of the completed splice. This matters for warranty claims and for the next technician who opens the box.
Monsoon and Dust Ingress
July through September monsoons drive fine dust into control enclosures that were not properly sealed after a DIY opening. We’ve opened control boxes where a homeowner’s well-intentioned board inspection left the gasket displaced. Six weeks later, the board failed from dust accumulation on relay contacts. The documentation gap: no photo of the enclosure before opening, no verification of seal integrity after closing.
Repairs That Require Professional Documentation
These repairs are not necessarily more complex technically. They are repairs where the system state must be recorded before change, and where an incomplete or undocumented job creates diagnostic ambiguity that increases future cost.
Limit Switch Adjustment and Replacement
As described above, limit settings interact with thermal expansion, gate weight distribution, and motor torque curves. Proper adjustment requires:
- Photograph the original switch position and the gate’s physical stop points
- Measure and record the current draw at both limits with a clamp meter
- Adjust and verify operation across temperature variation, or document the seasonal check schedule
- Photograph the final position and update the job record with motor model, board firmware version, and any observed wear
This is standard on every gate repair in Phoenix we perform. A homeowner can turn the screw. The documentation is what makes the repair complete.
Control Board Diagnosis and Replacement
Control boards fail from multiple causes: power surge, limit overtravel, moisture ingress, relay fatigue, or firmware corruption. Replacing the board without identifying the cause guarantees repeat failure. Professional diagnosis includes:
- Power quality measurement at the board terminals (voltage stability, not just presence)
- Load testing of the motor to distinguish motor drag from board undercapacity
- Inspection of all connected devices for short or leakage that stressed the board
- Documentation of the old board’s part number, failure mode, and any error code history
We’ve replaced boards that failed because a previous DIY repair left a photo-eye wired with reversed polarity, causing the board’s input protection to degrade over months. The board replacement fixed nothing until the wiring was also corrected. Without documentation of the original wiring, this causal chain is nearly impossible to trace.
Welded Component Repair
Hinge welding, track welding, and arm bracket repair require structural assessment, not just deposition of metal. A welded hinge on a sagging gate frame transfers load differently than the original design intended. The weld must be evaluated for crack propagation, and the gate’s travel geometry must be re-measured after repair. This is not a skill gap. It is an equipment and documentation gap: most homeowners do not own a magnetic base and dial indicator to measure gate travel flatness, and they do not photograph the crack pattern before grinding.
Access Control Integration
Telephone entry systems, loop detectors, and smart gate controllers interface with multiple voltage domains and communication protocols. A Ghost Controls or Viking system with added smartphone module involves 12V control logic, 24V accessory power, and potentially 120V outlet supply, all in one enclosure. Cross-connection risks include fire, control system damage, and personal injury. Even experienced DIY electricians often miss the isolation requirements between low-voltage control and line-voltage accessory circuits in gate-specific enclosures.
The DIY Documentation Protocol (Even for Simple Jobs)
If you choose to perform any gate repair yourself, produce documentation that a future technician can use. This protects your warranty eligibility, speeds future diagnosis, and prevents the “unknown state” problem that increases service cost.
Minimum Documentation for Any DIY Gate Repair
- Photograph before disassembly. Every wire connection, every mechanical adjustment point, every fastener position. Assume you will not remember where something went.
- Record part numbers. The exact keypad model, the photo-eye manufacturer and part number, the wire gauge and insulation rating. Not “a photo-eye from Amazon” - the specific part number.
- Note environmental conditions. Date, approximate temperature, and whether the gate had been operating recently (affects thermal position of moving parts).
- Photograph after completion. The finished connection, the adjusted position, the torque setting on any fastener you touched.
- Store with the gate manual. Create a physical or digital folder tied to this specific gate system. Future technicians should find it without searching.
This protocol mirrors what we provide under gate installation in Phoenix and on every service visit. Under Haven Standard Clause 4 (Evidence on every job), our technicians leave a photo log of every adjustment and a written record of the part number installed. Homeowners performing DIY work should replicate the standard, not lower it.
What This Documentation Prevents
In 2019, we diagnosed a recurring control board failure on a Paradise Valley estate gate. The homeowner had replaced the board twice in 14 months. Our documentation review found that a previous DIY repair had relocated a magnetic lock power supply into the same enclosure as the control board, without updating the wiring diagram. The supply’s switching noise induced board resets. The homeowner’s documentation, had it included a photo of the original enclosure layout, would have revealed the change immediately. Instead, two boards were replaced unnecessarily. The fix cost $180. The misdiagnosis cost $1,340.
The Exact Moment to Stop and Call a Pro
General advice says “call a professional if you’re not comfortable.” That is not actionable. Here are specific observable conditions that define the stopping point, regardless of your skill level.
Stop Immediately If You Observe:
- Scorched or melted wire insulation anywhere in the system. This indicates a past overcurrent event. The cause may be ongoing. Do not energize the system.
- Control board capacitors with bulging tops or leaked electrolyte. These are failure indicators, not normal aging. Board replacement without cause diagnosis will repeat.
- Gate movement that is inconsistent: sometimes smooth, sometimes jerky, sometimes not at all. Intermittent mechanical issues often trace to limit-switch contact arcing or motor brush wear. Both require measurement tools to distinguish.
- Any welded repair that has cracked or that you can flex with hand pressure. Structural integrity is compromised. Continued operation risks gate collapse or derailment.
- Error codes on the control board display that do not appear in the manufacturer manual you have. Firmware revisions add codes. The missing code may indicate a safety shutdown that protects against fire or crush hazard.
- You have opened an enclosure and cannot verify that all gaskets and seals are correctly reseated. Phoenix dust and monsoon moisture will enter. The failure timeline is 6-18 months, long after you’ve forgotten the opening.
The common element: these conditions create unknown system states. You cannot verify safety or completeness without equipment and reference standards that professionals maintain. Continuing past this point is not a skill judgment. It is a documentation and verification judgment, and the tools required are not cost-effective for single-homeowner ownership.
How to Hand Off a Partial Diagnosis Without Creating Confusion
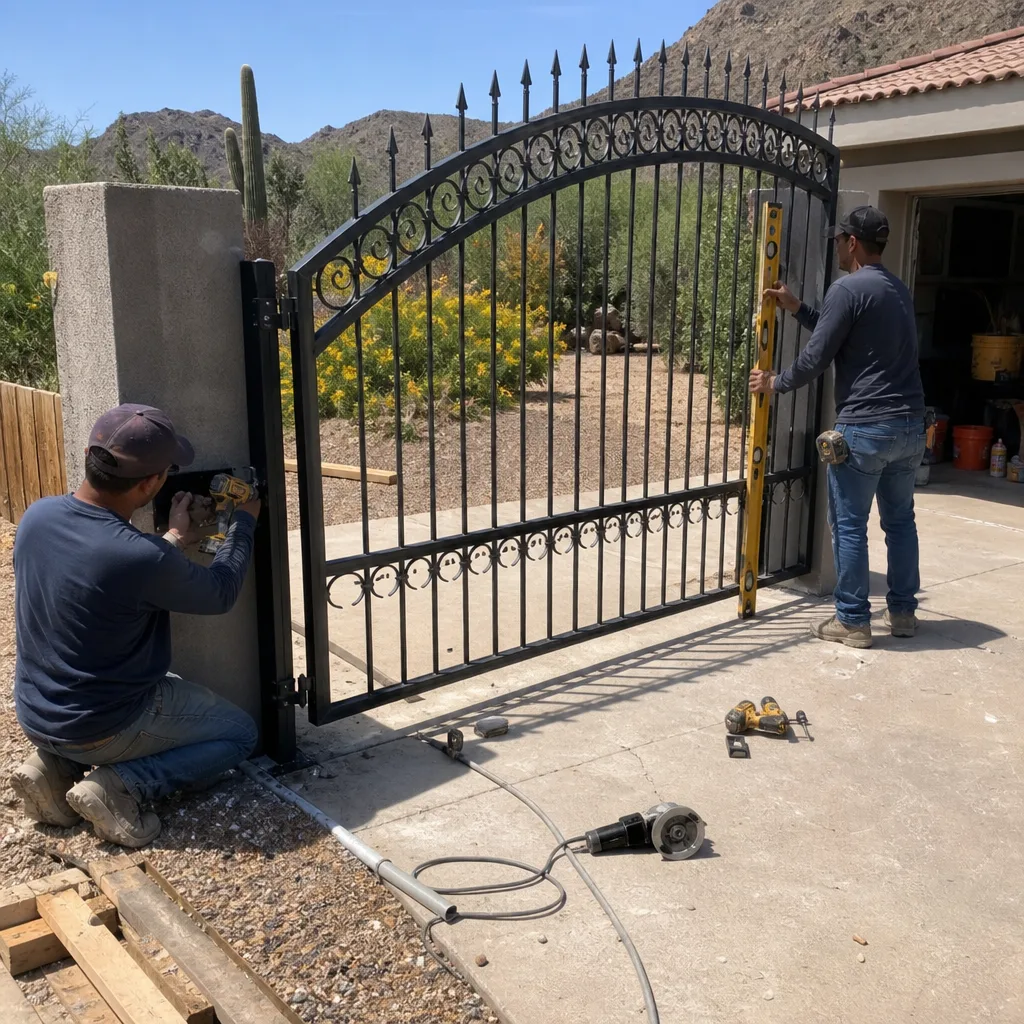
Sometimes you begin a repair, identify the likely component, and decide to stop. How you communicate this to the professional who takes over determines whether you save diagnostic cost or create it.
What Helps: The Structured Handoff
When you call, describe:
- What the gate is doing now, not what you think is wrong. “The gate opens six inches and stops” is more useful than “I think the motor is bad.”
- What you have already done, with part numbers and photos. “I replaced the photo-eye with a [part number] and realigned to solid green LED on the receiver.”
- What changed after your action. “After replacement, the gate opened fully three times, then returned to the six-inch stop behavior.”
- What you did not touch. “I did not open the control enclosure or adjust any limit settings.”
This structure lets the technician distinguish your repair’s effects from unrelated failure progression. It also establishes whether your work is under warranty or whether the original problem persists independently.
What Creates Confusion: The Partial Narrative
Avoid: “I tried a few things.” This requires the technician to reverse-engineer your actions from system behavior, which adds diagnostic time and may require re-performing work you already did. Avoid: “It worked fine until you guys worked on it last year” when you also performed unrecorded work six months ago. The timeline matters for warranty and for causal analysis.
At Vance Gate Repair Phoenix, we offer free second opinions on any written estimate from another company, and you can find more guides & resources on our blog. Bring your documentation, your photos, and your part numbers. We will review the prior diagnosis at no cost and tell you whether the recommended scope matches what we find. This service exists because partial information costs more than no information. Structured documentation converts to saved cost.
DIY Cost vs. Professional Cost in Phoenix
Pricing transparency matters for the DIY decision. Here are typical ranges for common gate repairs in the Phoenix market, based on our service data since 2014. These are not quotes; your specific gate configuration may vary.
| Repair Category | DIY Parts Cost | Professional Repair Range (Phoenix) | DIY Risk of Downstream Damage |
|---|---|---|---|
| Keypad replacement (basic) | $45-$120 | $180-$290 | Low: reversible error, no system interaction |
| Photo-eye replacement (pair) | $35-$85 | $150-$240 | Moderate: alignment tolerance affects motor load |
| Remote programming (addl. remote) | $25-$60 | $85-$150 | Low: original settings preserved |
| Limit switch adjustment | $0 (tool-only) | $180-$340 | High: undocumented change creates future diagnostic cost |
| Control board replacement | $180-$450 | $480-$890 | High: cause diagnosis required or repeat failure likely |
| Motor replacement (swing gate) | $380-$750 | $890-$1,680 | High: bracket geometry, limit recalibration, documentation |
| Welded hinge repair | $80-$200 (welder rental + consumables) | $340-$620 | Moderate: structural assessment, travel geometry verification |
| Full diagnostic with documentation | N/A | $150-$250 | N/A: establishes baseline for all future work |
The professional ranges include our Haven Standard deliverables: written price before work starts, photographed record of findings and adjustments, and the 365-Day Done Right Promise. The DIY column includes only parts; it does not include tool acquisition, the value of documentation, or the cost of error.
For gate motor and opener replacement specifically, most swing-gate motor replacements run between $890 and $1,680 depending on the brand and whether the arm bracket is intact. Linear and Viking systems fall in the middle of this range; specialized high-cycle commercial motors may exceed it. The price is quoted and agreed before any work starts, with no surprise invoice at the end.
Common Mistakes to Avoid
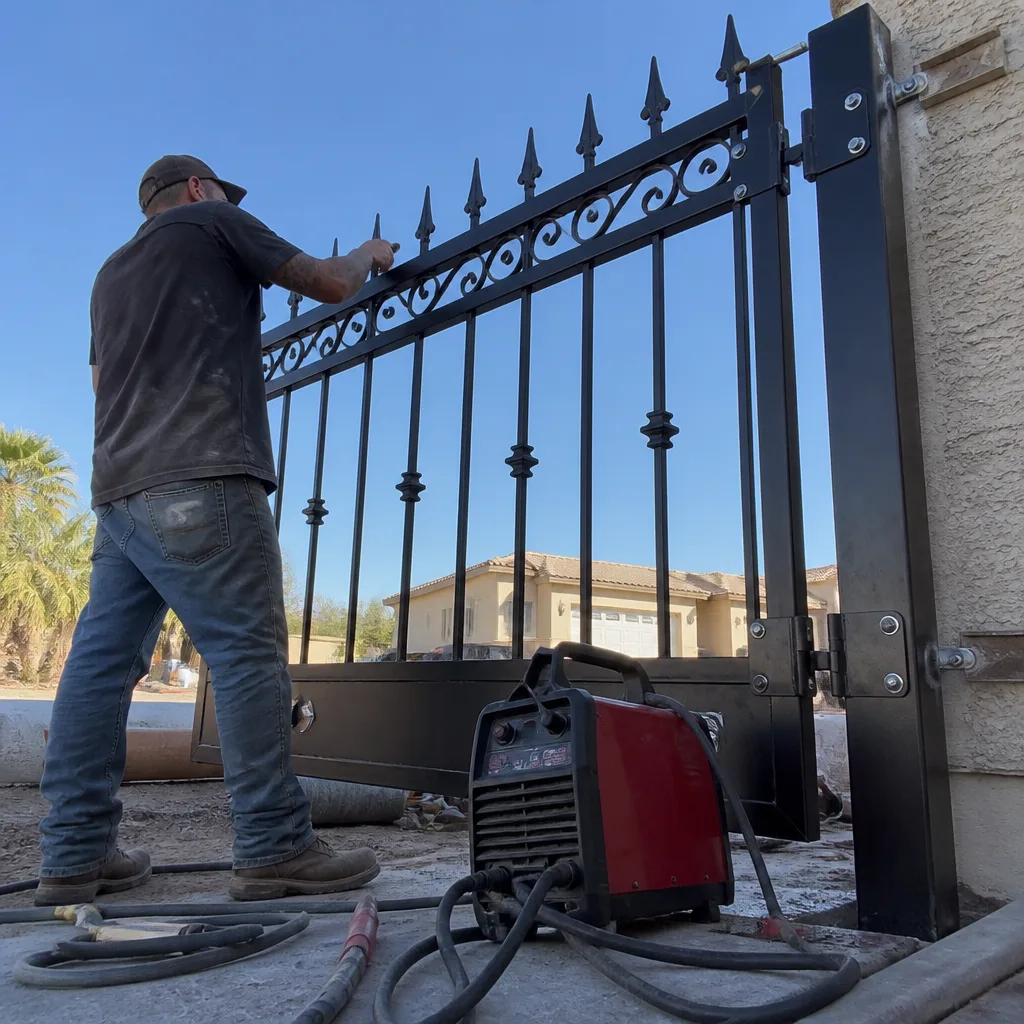
- Adjusting limits without measuring original position. In Phoenix’s thermal expansion environment, the “working” setting in March is not the working setting in August. Document with a protractor or ruler, not memory.
- Using indoor-rated wire nuts or tape on outdoor splices. UV degradation in 18 months causes resistance failures that mimic motor or board problems. The diagnostic cost exceeds the original professional repair.
- Replacing a component without photographing the wiring first. Even simple two-wire devices can be polarized or grounded differently than the manual suggests. The photo is your reference when the wire falls back into the conduit.
- Ignoring error code history before clearing it. Many control boards store the last several fault conditions. Clearing history without recording it destroys diagnostic information that a technician needs.
- Assuming a gate that “works now” is repaired. Intermittent operation, slight hesitation, or unusual noise are early failure indicators. Addressing them early, with documentation, prevents the emergency call at 10 PM when the gate won’t open and you’re trapped inside or outside.
- Not verifying permit requirements for structural modification. Phoenix and Maricopa County jurisdictions vary on whether gate motor replacement or welded structural repair requires permit. Unpermitted work can complicate property sale or insurance claims.
When to Call a Professional
Call a professional when the repair involves calibrated settings, multiple interacting systems, structural integrity, or any condition where you cannot verify completeness with tools you own. Specifically: control board work, limit adjustment, motor replacement, welded repair, and any diagnosis where the symptom is intermittent or involves multiple possible causes.
Vance Gate Repair Phoenix offers free estimates in Phoenix. A live person answers the phone 24 hours a day, seven days a week at (602) 483-6270. We provide a written price before any work starts, photographed documentation of every adjustment, and the 365-Day Done Right Promise on all completed work. If you have a written estimate from another company, we will review it at no cost and tell you whether the scope matches what we find.
Frequently Asked Questions
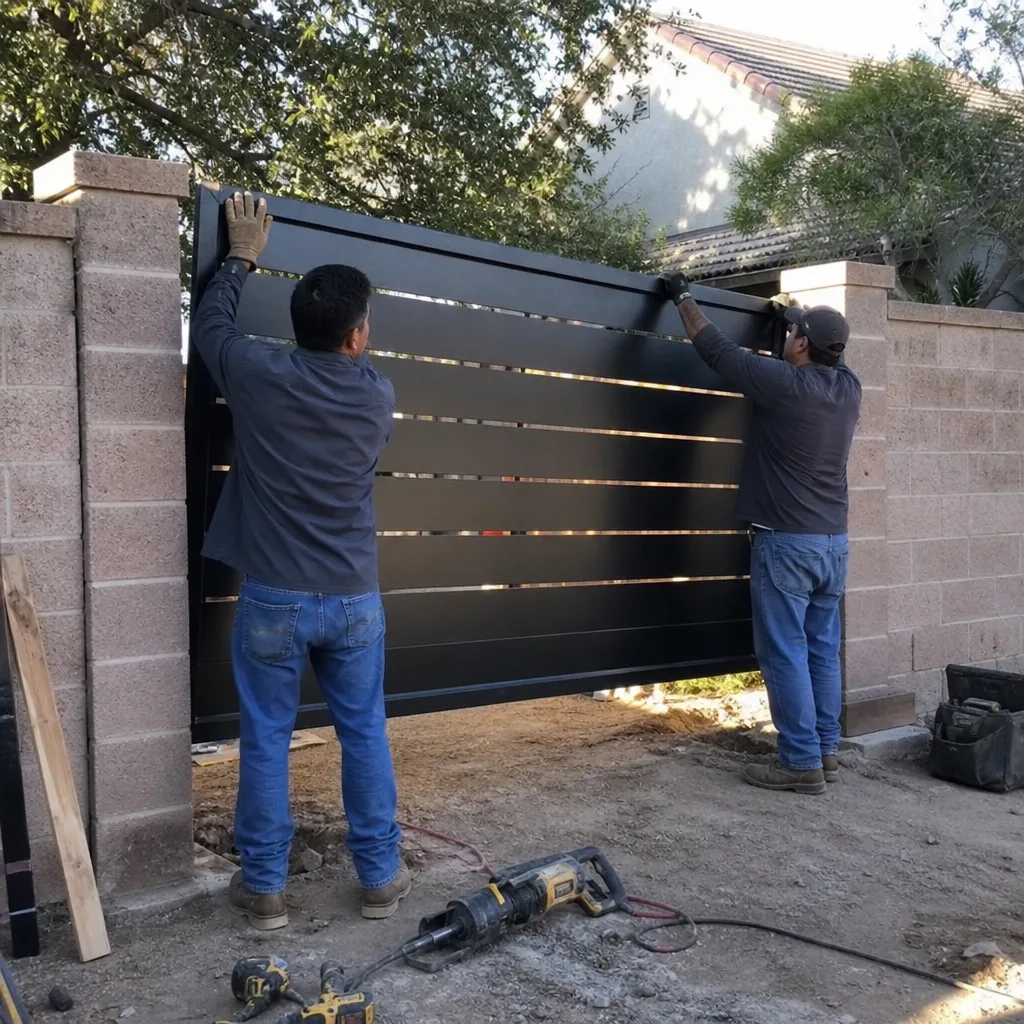
Most common repairs range from $150 for basic photo-eye realignment to $890-$1,680 for swing-gate motor replacement, depending on brand and bracket condition. We provide a written, itemized price before any work begins. Call (602) 483-6270 for an exact quote on your specific gate - estimates are free.
You can physically install a replacement motor, but proper completion requires limit recalibration, current-draw verification, and documentation of the original and final settings. Without these steps, thermal expansion in Phoenix’s climate will likely cause overtravel damage within one to two seasons. Motor replacement is where incomplete DIY most commonly creates downstream cost.
Keypad replacement, remote programming, photo-eye cleaning, and physical obstruction removal are safe year-round. Avoid any repair that requires opening control enclosures above 105 degrees ambient; high temperatures stress capacitors and semiconductors, making board damage more likely if handled. Schedule control-system work for morning hours, or delegate it to a professional with thermal management protocols.
Trace the symptom to your specific action. If the new problem appeared immediately after your repair, re-verify your work against the manufacturer manual. If it appeared weeks or months later, check whether your repair involved settings that drift with temperature, splices that degrade with UV exposure, or seals that may have been disturbed. Documentation is what makes this traceability possible; without it, you are guessing.
We service nine major automation brands: LiftMaster, FAAC, BFT, Linear, Viking, Ghost Controls, DoorKing, Elite, and Mighty Mule. We do not steer customers toward replacement with a different brand when repair of the existing system is viable. The written estimate will specify whether your motor is repairable or requires replacement, with part numbers and warranty terms for either path.
Under Haven Standard Clause 4, every Vance Gate Repair Phoenix visit includes a photographed record of what was found, what was adjusted or replaced, and the final settings or positions. You receive a copy with the invoice. This documentation travels with the job record and is available for warranty claims or future service reference. If your current gate company does not provide this, you are paying for diagnostic work that may be repeated.
The Bottom Line
The DIY versus professional question is not about your capability. It is about whether a repair produces a known, documented, verifiable system state or leaves hidden variables for the next failure to exploit. In Phoenix’s climate, thermal expansion, UV exposure, and monsoon dust make documentation especially critical. Handle keypad swaps and photo-eye cleaning yourself. Stop at limit switches, control boards, and welded repairs. Whatever you do, photograph before and after, record part numbers, and store the record with your gate manual. Our Gate Repair Maintenance Checklist for Phoenix Homeowners provides a complete framework. When the job exceeds your documentation capability, call a professional who treats evidence as standard equipment, not an extra.
Need a written estimate or a free second opinion on another company’s quote? A live person answers our phone at any hour. Call (602) 483-6270 to speak with Vance Gate Repair Phoenix today.
Written by Adrian Vance, Owner at Vance Gate Repair Phoenix, serving Phoenix since 2014.